There have been some interesting comments as well as some discussion on several of the e-mail lists. I'm going to try to address them here.
"I've always fancied designing and didn't know where to start." That's the way a lot of people feel. They seem to think that only a few people can design. That isn't true. The truth is only a few people actively try to design things. If you've followed Jane Eborall's blog you'll know that she started to tat a long time ago. She has the experience of a lot of years of tatting to just
know when and how things will work. With that experience comes a certain amount of speed. As a beginner, struggling to complete each stitch, the idea of experimenting and just throwing away or cutting off a piece of lace is heartbreaking. For a novice a small motif might take several days to complete, but the experienced tatter might do the same motif in less than and hour.
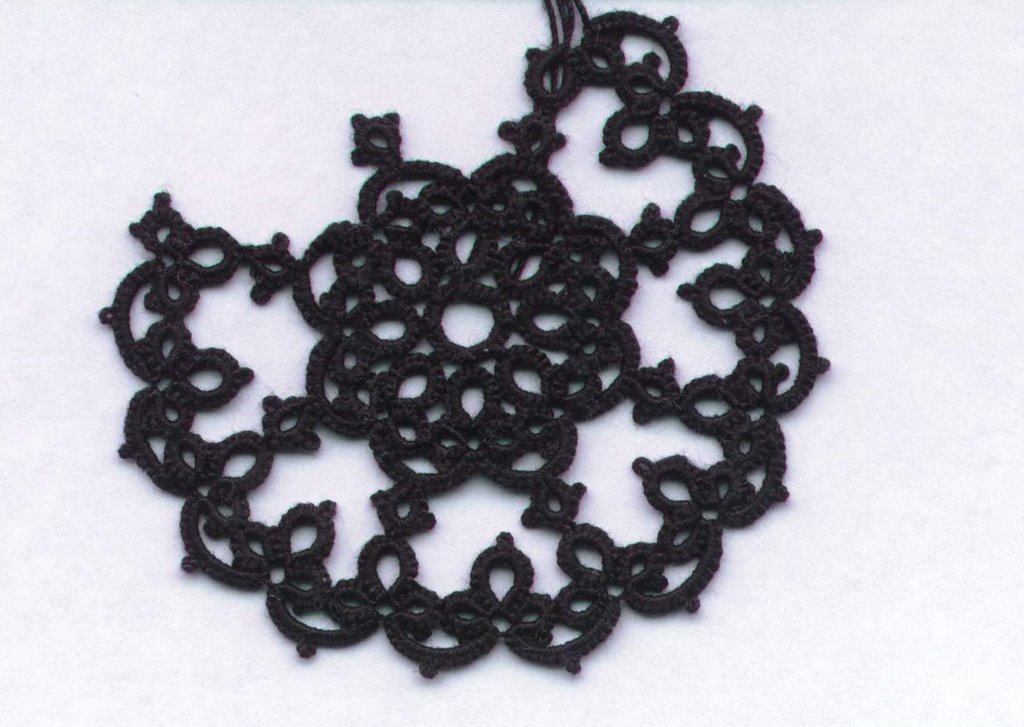
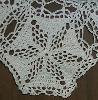
One of the things you have to face as a designer is that things may not work as anticipated. Several years ago I designed an oval doily and the tatter who requested it wanted something simple and something with a lot of picots. Notice the centre? Does it look familiar? If you think it looks like snowflake #1, you'd be right. It's another one of the snowflake doilies.

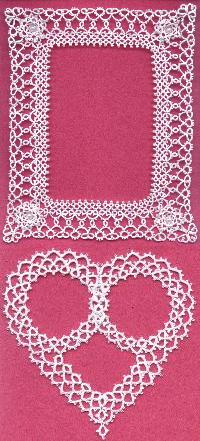
Both the pink doily and the oval doily have similarities. For sure their centres are similar and they are both just rows of ring and chain, but their shapes are different and while the pink doily has very few decorative picots, the oval one has hundreds. The lack of picots makes the geometric shape of the diamonds really stand out in the pink doily, there's nothing to get in the way of the shape. On the other hand, the picots on the oval doily make the lines of the chains appear thicker and really outlines parts of the doily.
The oval doily was a real stinker to create. Several times entire rows had to be cut off because the stitch count didn't work. If you are making a circular shape you can just repeat a pattern segment and it's the same all the way around. In an oval shape the sides have to stretch farther than the ends. I had a drawing that gave me a rough idea of how to proceed, but I had to abandon the drawing and go back to the simple trial and error method. Sometimes you just have to accept that the only way you are going to know if an idea will work is to try it.
So, where do you start? You start with what you know. For example, do you know what the impact of picots have on a piece of lace? Tat a length of edging doing three rings of 5-5-5-5 and chains of 5-5-5. Then do rings of 5-3-3-3-5 and chains of 3-3-3-3-3 then do rings of 2-2-2-2-2-2-2-2 and chains of 2-2-2-2-2-2-2. You can do even more variations and you can alter the length of the picots. See the difference? Now you know something you didn't know before, and you have a piece of tatting that you can use as a reference.
"Sometimes what I do is just cut and tie (at the end of a row) and after is finished then I study it to see a flowing path using split rings and chains." It's not unusual if you have just cut off a row that isn't working and re-attached your thread, to start back at a different point. If you're designing you may tat a piece one way, yet write instructions for it another.
For example, snowflake #8 starts in the centre, but for the doily it starts on the ring at the top of the chain. If you have just cut off part of a row, you may have to join your thread at an inward facing ring, (like the rings in the centre) rather than at an outward facing ring. Once you have the project completed, you know where you need to start and how you need to climb from row to row, so when you draw it, if you are using a visual diagram, or write it out, you will give instructions that tell people how to do it logically, not necessarily the way you worked it.
Actually, because you don't always know where you are going with a design, you sometimes end up doing some really awkward and bizarre climbing out. For example, you start a new row and think I wish I'd put an outward facing ring at this point so that I could connect to it. But you don't have an outward facing ring and so you do an SCMR to put a ring where you need it or maybe you do a combination of a ring off the side of a split ring in combination with a SCMR or something else weird. It's not what you'd normally do, but it lets you have something that looks the same and when you write out the pattern you write it the way you should have tatted it. Sometimes I find myself tatting bits and connecting them together. I might do a wing of a butterfly and the second wing just doesn't work. I cut off the offending bits and just tat the second wing not worrying about climbing out or anything just to see if an idea works. When I get something that I like, I start over again and do the whole thing properly using split rings or whatever I need to achieve the results I want.
If I'm doing a simple motif I might start with a ring of 4-4-4-4 but decide that a ring of 6-6-6-6 would look better, or allow for a more advantageous picot placement, I don't start again, I just keep going. I may end up with 4 or 5 different rings and as many different chains. It doesn't matter. Each one tells me something. Then I can start again and do the whole thing over again incorporating all of the variations I want to keep.
"I tried to enlarge the pattern because I can't read it very well." As you have probably noticed, the stitch count for the doily is almost unreadable. Blogger is shrinking the image to fit it into the space and while I might be able to re-do the diagram for part of the doily, I'm not going to be able to get much more to fit into the blog. I've decided that I'm going to re-make the doily so that I have a reliable stitch count for it and I'll include it in the next newsletter. If you are feeling adventuresome and want to try it from the information already given, I will answer any questions you have.
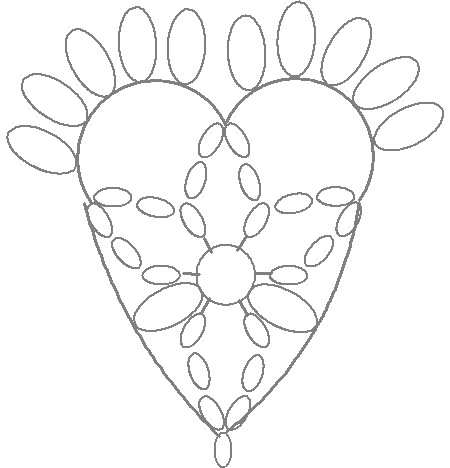
Jane made some terrific observations and while she described her approach to designing as hit or miss, we all know that her designs are always a hit. She also mentioned that when she's designing a particular animal she looks for a generic picture to use as a guideline for her pattern. So do I. It helps to have a visual reference to work with usually something without a lot of detail, but with the important parts clearly marked. Clip art is often more helpful than a photograph because it is stripped down to just the essentials. Kids colouring books can be very helpful for this kind of thing. Sometimes I bring the picture into my drawing program, stretch it to a large size and then draw the key points right on the picture. Then I can remove the picture and fill in the spaces with oval or round shapes representing rings or cloverleaves and link them together with curved lines for chains.
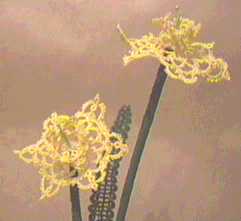
Jane also stated that she rarely sketches an idea she just tats and tats until it's right. I find it hard to do that with larger projects although the daffodils were created without a drawing. I happened to have a couple of reject pieces of tatting sitting on my desk and it gave me an idea. I loaded my shuttles and tatted the flower start to finish and it just turned out right. I didn't even need to draw the leaves, they just worked out but for bigger pieces I find a drawing gives me a framework to work with. I often do rough drawings without stitch count or picots to work from and I add the stitch count and picots after I'm done.

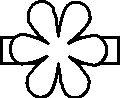
 My second step was to create a band for the medallion. It needed to be something similar to the medallion so that they looked like they belonged together, not too skinny, and not too wide. I also had to think about how to attach the band. I could easily just tat them separately, but there are fewer ends if you can do it in one piece. The medallion was going to start with the snowflake so I was using both cloverleaves and individual rings and cloverleaves are a bigger shape for a wider band.
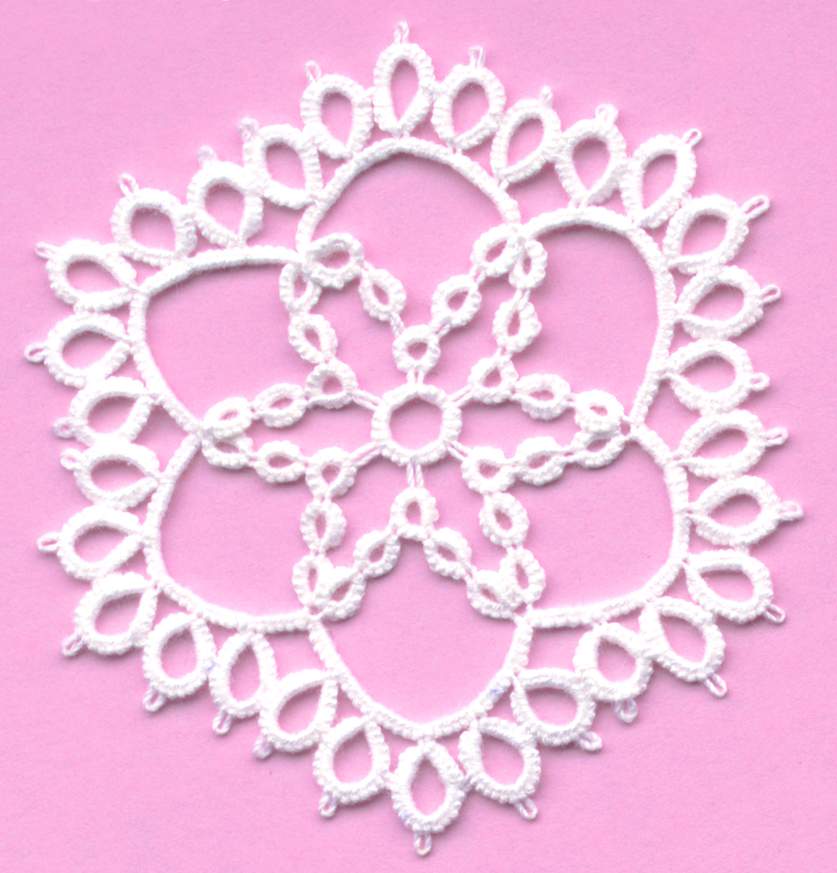
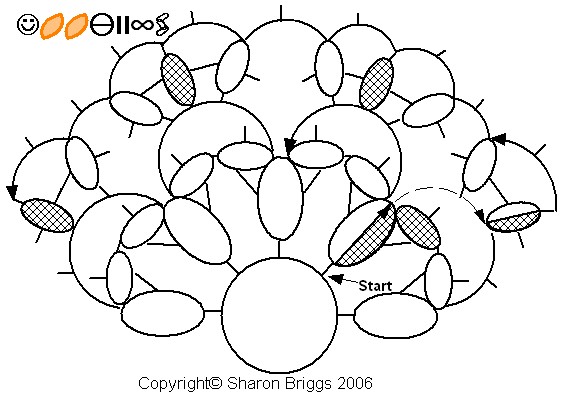 but I really didn't need anything that large. As I looked at my first try I realized that I could just add in more little outer rings and that would give me the size I needed and it would still give me the filigree effect. So on the next snowflake I put some picots on the chain on either side of the small ring and I did a second row with chains and small rings filling in the spaces.
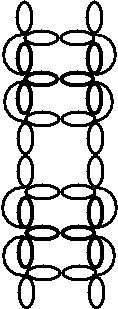


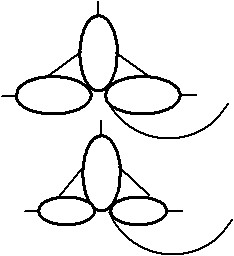


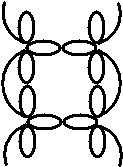
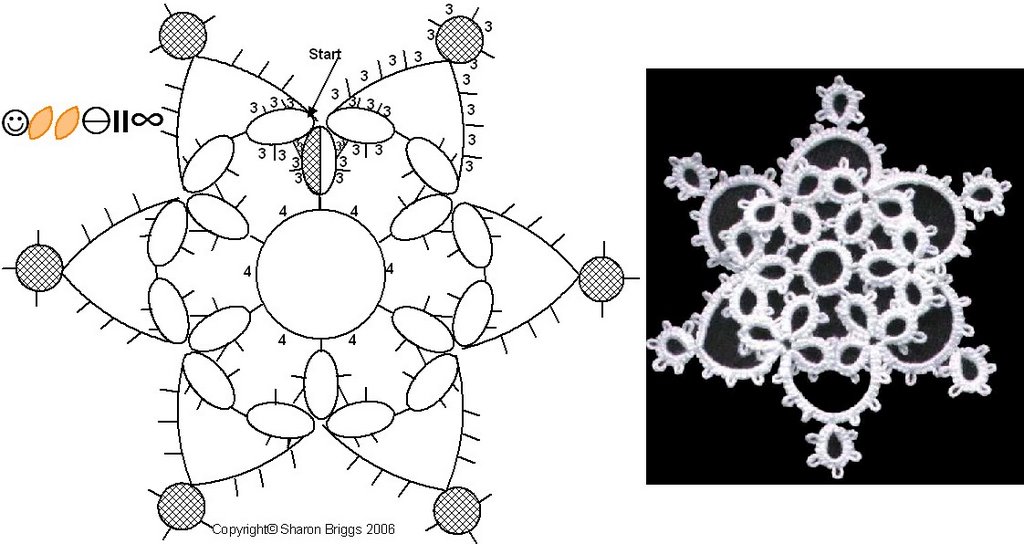
 Here's the pattern for the first one and in case you can't read the stitch count everything is 3. Knowing where I started from, can you figure out the pattern for the next one? Experienced designers would laugh at the question, but if you haven't designed before, see if you can. Many times I have created a new design because I just made a mistake in reading a pattern. Designing isn't hard, but like tatting, it takes practice. This is a very forgiving design that's really hard to mess up, so it's a good piece to start with. And you know what? I'm still doing variations of this same design.


